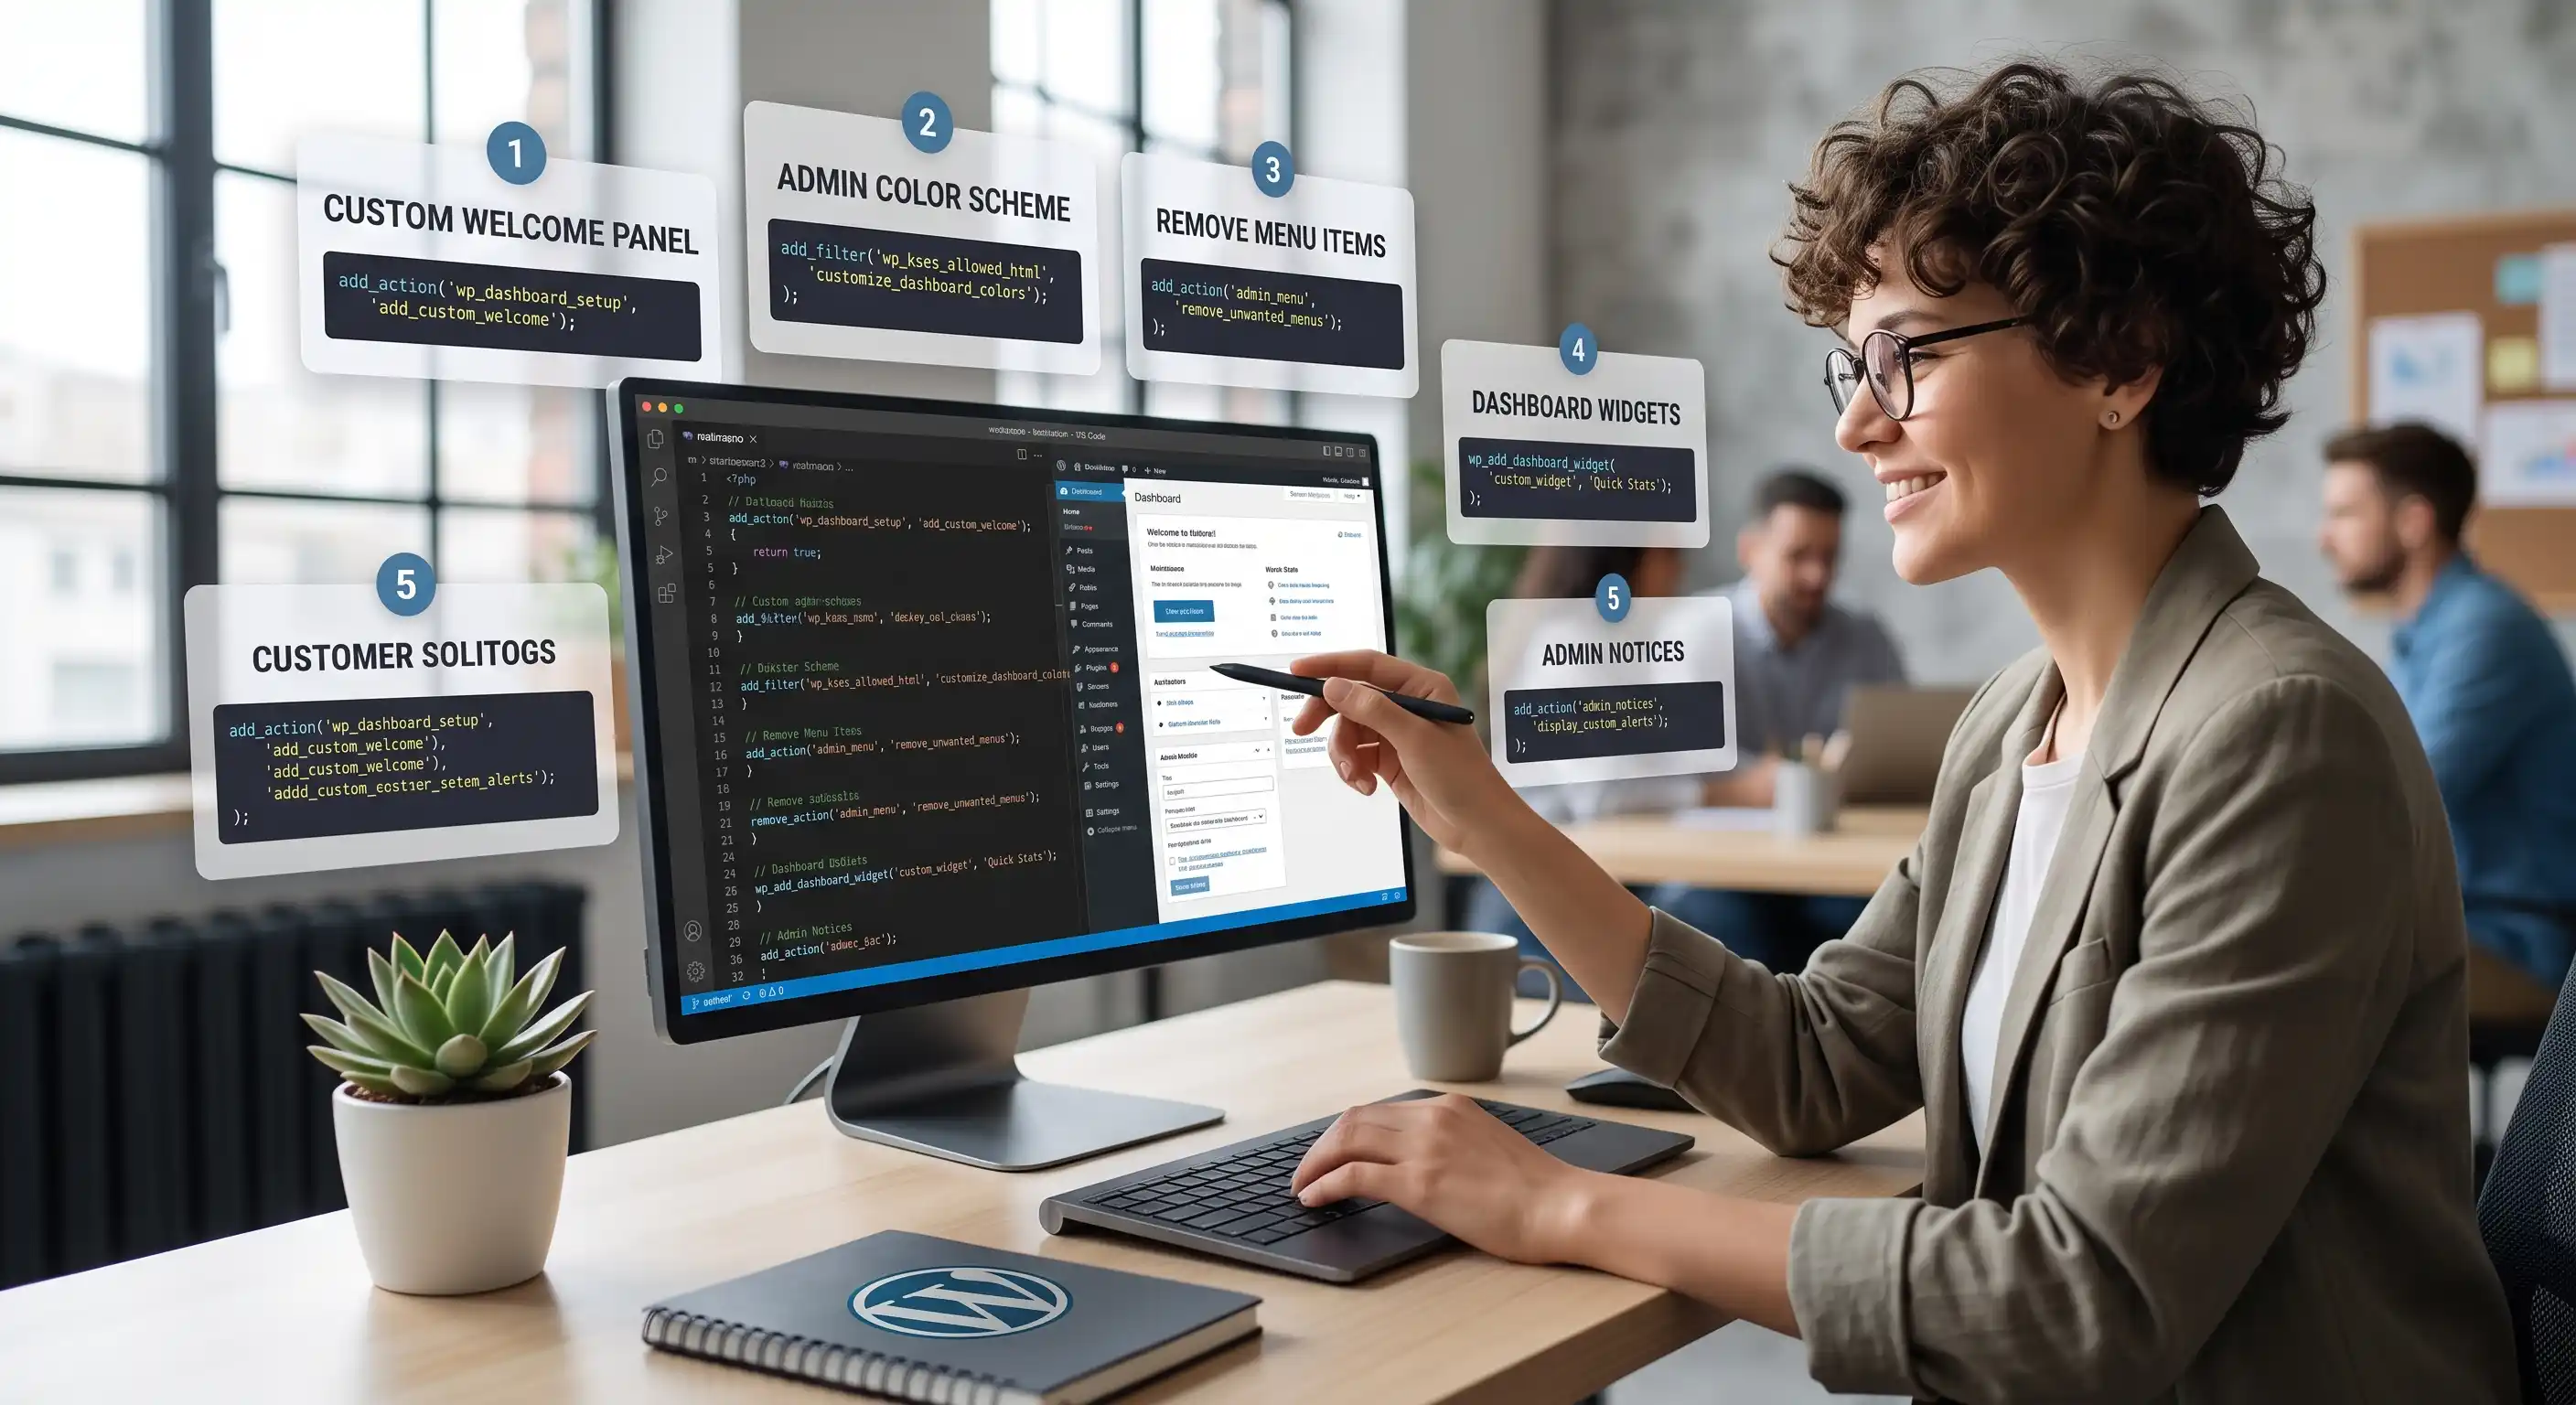
Why Customize the WordPress Admin at All
If you build sites for clients, the default WordPress dashboard is a liability, not a feature. It's covered in menu items your client will never use, widgets promoting WordPress.org, and a login screen with the WordPress logo front and center — none of which says "this is your website, professionally managed." These five snippets fix that in under ten minutes combined.
Every snippet below goes into a site-specific plugin rather than your theme's functions.php — that way, the customizations survive a theme switch or update. Create a new file at /wp-content/mu-plugins/dashboard-customizations.php, or add these functions to your existing custom plugin.
1. Replace the Login Page Logo
The default login screen shows the WordPress logo linking to WordPress.org — a strange first impression for a client logging into their site. This snippet swaps it for your (or your agency's) own branding, linking back to the homepage instead.
Where to insert: your site-specific plugin file, or functions.php.
- Upload your logo image to the Media Library and copy its URL.
- Paste the snippet below into your plugin file.
- Replace the image URL, width, and height with your own logo's dimensions.
- Replace "Your Company Name" with the text you want shown as the link's title attribute.
- Visit yoursite.com/wp-login.php to confirm the new logo appears and links to your homepage.
function custom_login_logo() {
    ?>
    <style type="text/css">
        #login h1 a, .login h1 a {
            background-image: url(https://yoursite.com/wp-content/uploads/custom-logo.png);
            height: 65px;
            width: 320px;
            background-size: contain;
            background-repeat: no-repeat;
            padding-bottom: 30px;
        }
    </style>
    <?php
}
add_action('login_enqueue_scripts', 'custom_login_logo');

function custom_login_logo_url() {
    return home_url();
}
add_filter('login_headerurl', 'custom_login_logo_url');

function custom_login_logo_url_title() {
    return 'Your Company Name';
}
add_filter('login_headertext', 'custom_login_logo_url_title');
2. Hide Menu Items Clients Don't Need
A client running a five-page business site doesn't need to see Comments, Tools, or sometimes even Posts in their sidebar — every extra menu item is one more place they can click something by accident and call you confused. This snippet removes menu items by their internal slug.
Where to insert: your site-specific plugin file.
- Paste the snippet below into your plugin file.
- Comment out or delete any
remove_menu_page()line for a menu you actually want to keep. - Log in as the role you want restricted and confirm the menu items are gone.
- Remember: this hides the menu, it does not restrict capability — a determined user could still reach the underlying page URL directly if their role has permission. Pair this with proper role/capability management for real access control.
function hide_admin_menus() {
    remove_menu_page('edit-comments.php'); // Comments
    remove_menu_page('tools.php');          // Tools
    remove_menu_page('edit.php');           // Posts — remove only if the client site has no blog
}
add_action('admin_menu', 'hide_admin_menus', 999);
3. Remove Default Dashboard Widgets
Out of the box, the dashboard home screen is full of widgets like "WordPress Events and News" and "Activity" that add noise without adding value for a client who just wants to edit a page and log out. This snippet clears the clutter so the dashboard loads faster and looks intentional.
Where to insert: your site-specific plugin file.
- Paste the snippet below into your plugin file.
- Visit the Dashboard home screen and confirm the targeted widgets are gone.
- If a widget you want to keep also disappears, remove its corresponding
remove_meta_box()line — some plugins register widgets under different IDs, so check the widget's HTML if one doesn't budge.
function remove_default_dashboard_widgets() {
    remove_meta_box('dashboard_incoming_links', 'dashboard', 'normal');
    remove_meta_box('dashboard_plugins', 'dashboard', 'normal');
    remove_meta_box('dashboard_primary', 'dashboard', 'side');   // WordPress Events and News
    remove_meta_box('dashboard_quick_press', 'dashboard', 'side');
    remove_meta_box('dashboard_activity', 'dashboard', 'normal');
}
add_action('wp_dashboard_setup', 'remove_default_dashboard_widgets');
4. Add a Custom "Need Help?" Dashboard Widget
Now that the clutter is gone, put that space to work. This snippet adds your own widget to the top of the dashboard with a support contact — the first thing your client sees when they log in, instead of them digging through old emails to find your number.
Where to insert: your site-specific plugin file.
- Paste the snippet below into your plugin file.
- Replace the widget title, support email, and message text with your own.
- Reload the Dashboard home screen — your widget appears at the top by default since it's added first.
- You can put any HTML here — a support ticket link, your business hours, or a maintenance plan reminder.
function custom_dashboard_widget() {
    wp_add_dashboard_widget(
        'custom_help_widget',
        'Need Help? Contact Support',
        'custom_dashboard_widget_content'
    );
}
add_action('wp_dashboard_setup', 'custom_dashboard_widget');

function custom_dashboard_widget_content() {
    echo '<p>Welcome to your website dashboard. For any support, contact us at <a href="mailto:support@youragency.com">support@youragency.com</a>.</p>';
}
5. Replace the Admin Footer Text
The default admin footer quietly thanks WordPress and links to the support forums — free real estate that's better spent reminding the client who built and maintains their site, every single time they're logged in.
Where to insert: your site-specific plugin file.
- Paste the snippet below into your plugin file.
- Replace the agency name and URL with your own.
- Reload any admin page and check the bottom-left corner for the new footer text.
function custom_admin_footer_text() {
    echo 'Website managed by <a href="https://youragency.com" target="_blank">Your Agency Name</a>';
}
add_filter('admin_footer_text', 'custom_admin_footer_text');
Final Checklist
- Created a site-specific plugin file instead of editing the theme's functions.php.
- Replaced the login logo, link, and title with your own branding.
- Hid menu items the client role doesn't need, without relying on this alone for security.
- Removed the default dashboard widgets that add noise, not value.
- Added a custom "Need Help?" widget with real support contact details.
- Replaced the admin footer text with your agency's name and link.
None of these snippets touch core WordPress files, so they're all update-safe. Applied together, they turn a generic WordPress install into something that looks and feels custom-built — which, from your client's point of view, it now is.
Comments & Feature Requests
0 Found a bug, or want a new tool? Let us know below.
comments_no_comments